




As-tu un compte ?
Connecte-toi pour finaliser ta commande plus rapidement.
€0,00
En poursuivant, j'accepte les conditions générales


Choisis plus de couleurs et profite d'une réduction :


Choisis plus de couleurs et profite d'une réduction :
Sélectionné : Aucun


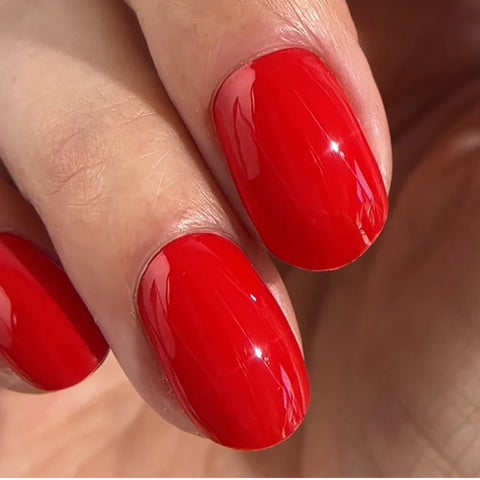


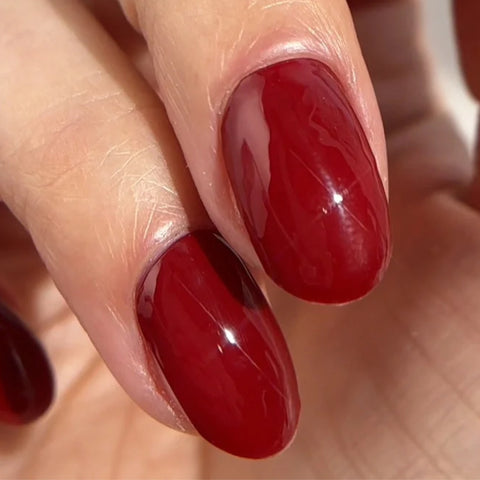

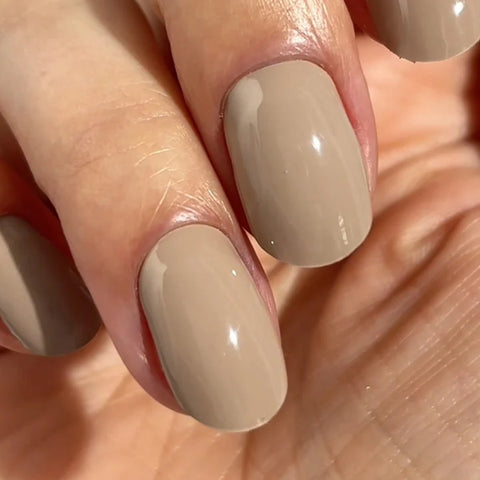
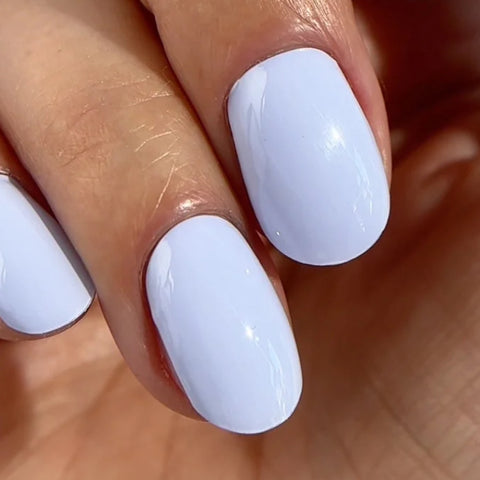


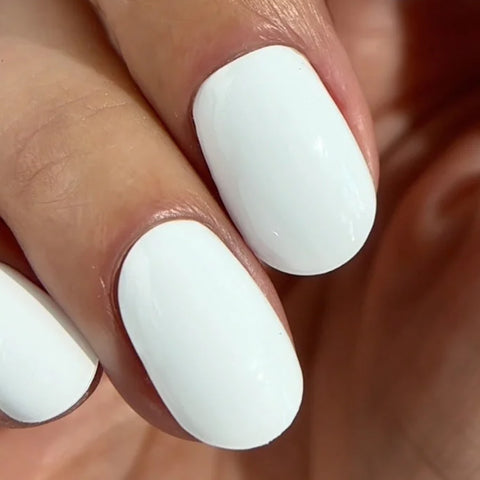
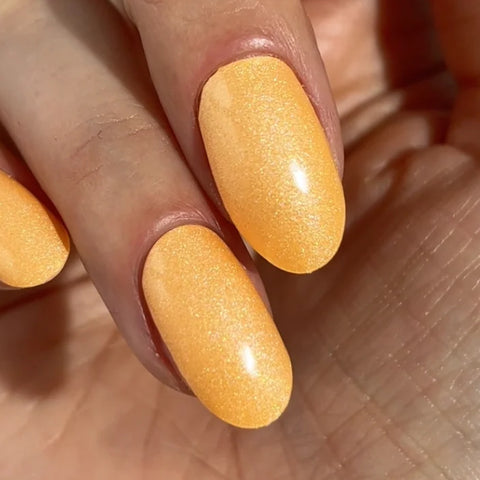


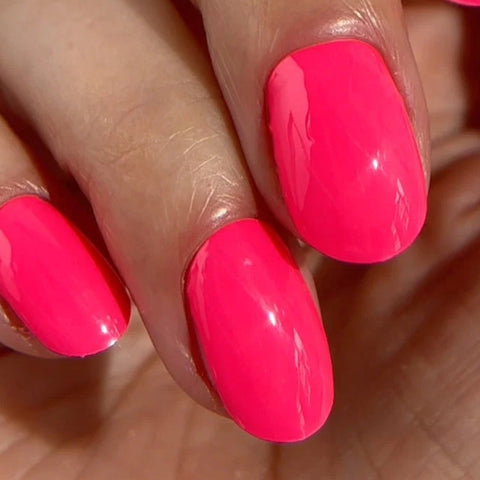
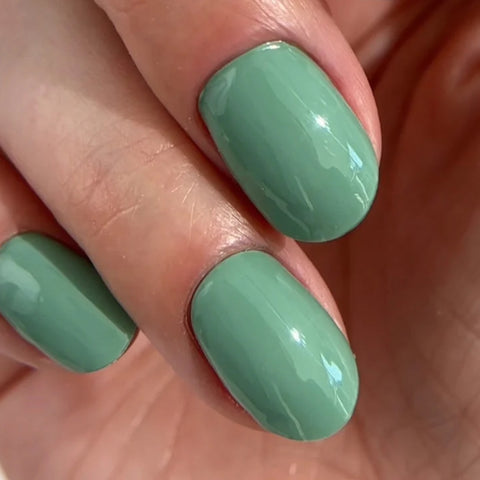


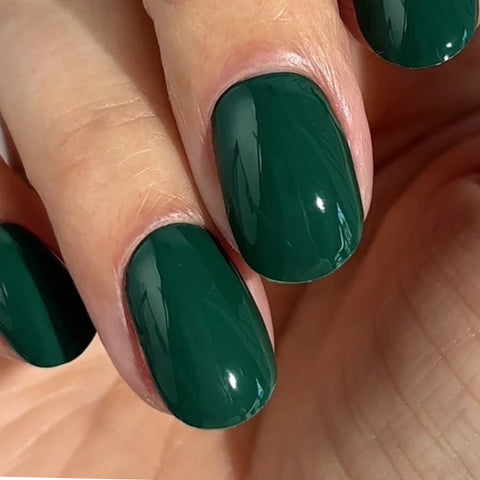


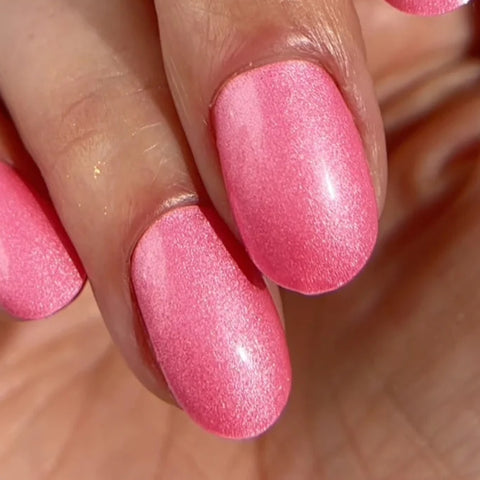


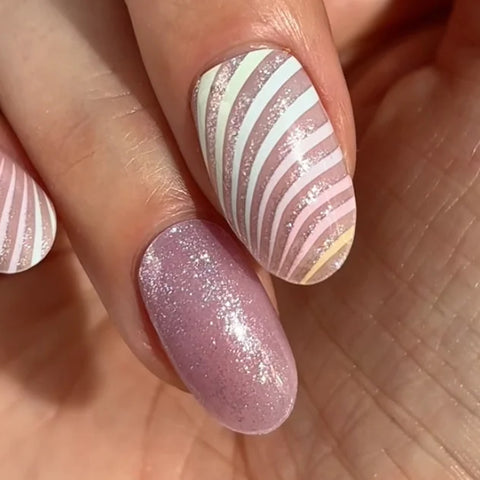



Pour ajouter une couleur, veuillez la sélectionner dans le sélecteur de couleurs puis cliquer sur le bouton « ajouter »
Pour ajouter de la couleur, veuillez d'abord la sélectionner
Your first set is on us!
First time with Gel Nail Wraps? We know trying something new can take a little practice. That's why when you buy one set, we'll give you another one free to try.
Step 1: Add 2 Gel Nail Wraps to your bag.
Step 2: Enter the code FIRSTSET at checkout and get 1 pack free.
Step 3: Loved it? Great! If not, return the second unopened pack within 90 days for a full refund.
For the best results, take a look at our 4-step guide to applying and nailing it before you get started. Gel Nail Wraps only.
1 redemption per customer. T&Cs apply & Returns Policy.
Terms and conditions apply.
Livraison gratuite dès 50€ d'achat
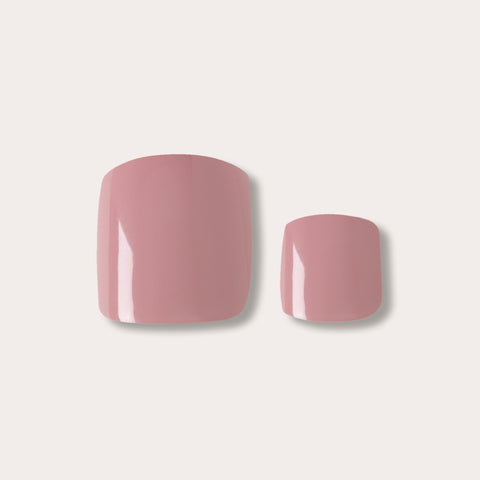
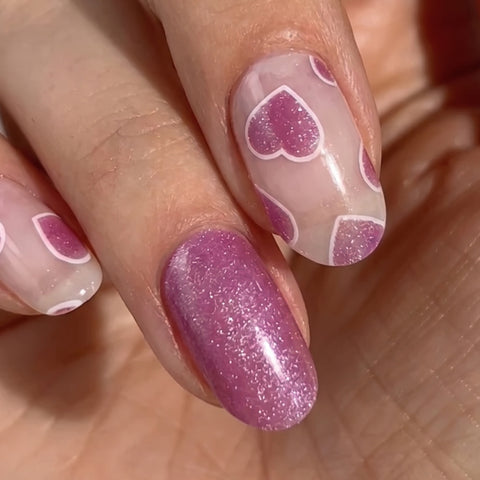
Craque pour Tainted Love — un mauve délicat, très féminin, aux sous-tons rosés, conçu pour sublimer toutes les carnations.
Ces Vernis Gel Autocollants Pieds sont fabriqués à partir de véritable vernis semi-permanent pour une brillance intense et une tenue jusqu’à 21 jours. Pas besoin de laisser sécher, pas besin de lampe !
Il te suffit de décoller, appliquer, ajuster… et c’est prêt.
Parfait pour des sandales, une soirée entre amies ou des plans de dernière minute.
Envie d’un match parfait ? Associe-les au vernis semi-permanent Stand By Me ou aux Vernis Gel Autocollants pour les mains, pour une manucure et une pédicure parfaitement coordonnées.
Code produit : MYL-GTW-0036
STEP 1: PREP
Start by making sure your feet are clean and completely dry before you begin. This helps remove any surface oils and creates the best base for application.
Begin by buffing your toenails with the Mylee 240 Grit Nail File. File straight across and gently refine the edges to create a neat, even shape for the wraps to sit on.
Apply a small amount of Mylee Cuticle Remover* around the base of each nail, then gently push back the cuticles. Even small traces of cuticle can stop the wraps from adhering properly, so take your time with this step. If you have stubborn cuticles, we recommend using a Metal Cuticle Pusher* to help remove any excess skin from the nail plate and ensure a clean, smooth surface.
Next, smooth the nail surface using the Mylee 3-Way Buffer*. Start with Side 1, then move to Side 2 to reduce ridges and remove the natural shine from the nail plate. This step is especially important for toes, toenails are often thicker and more uneven than fingernails, and any texture can show through the wrap, so make sure the surface feels smooth and matte.
Cleanse each nail using a Mylee Lint-Free Wipe* soaked in Mylee Prep & Wipe* to remove any dust or oils. This helps the wraps adhere better and last longer. If you don’t have these products, wash your toes with warm, soapy water and make sure the nails are completely dry before continuing.
If your nails tend to be oily, apply Mylee Nail Dehydrator* after cleansing as an extra prep step to remove any remaining moisture.
STEP 2: STICK & WRAP
Choose your favourite design and select the right width wrap for each nail – if you're between sizes, go slightly smaller. Peel the wrap from the sheet, touching only the end that won’t go on the nail. Apply the wrap as close to the cuticle as possible without touching the skin. Press the wrap firmly from the centre outwards to avoid air bubbles. Use your thumb to press down and seal the edges.
STEP 3: TRIM & FILE
Trim any excess as close to your nail length as possible using Mylee Curved Edged Scissors* to prevent the wrap being trapped and peeling off (the nail edges and the wraps must be aligned). Once you have cut off all the excess, press the wrap down again to fully seal it in place. Lightly file underneath the free edge, if necessary, in one direction only, from top to bottom, using a Mylee 180-Grit Nail File. Avoid applying any oils or getting your feet wet for at least 2 hours after application to ensure maximum adhesion. Then you're set for up to 21 days!
STEP 4: REMOVE
Quick, damage-free removal in just 1 minute. Apply Mylee Wrap Remover Oil* around the edges of the wrap. Gently lift one side with a Mylee Wooden Cuticle Stick and slowly slide it underneath, adding more oil as needed. Once removed, wipe your nails and wash your feet.
*Product sold separately.
Discover our tips and tricks to get the best results when applying your Gel Toe Wraps!
PREP:
APPLICATION:
FILING:
AFTER CARE:
INGRÉDIENTS COLLE : Polymethyl Methacrylate.
PRÉCAUTIONS D'EMPLOI : Usage externe uniquement. Tenir hors de portée des enfants. Appliquer uniquement sur les ongles. Éviter tout contact prolongé avec la peau. Ne pas utiliser sur d’autres parties du corps. Peut provoquer une réaction allergique cutanée. En cas d’irritation ou d’éruption cutanée : consulter un médecin.


Repousse délicatement tes cuticules avec un bâtonnet en bois. Matifie légèrement la surface de l’ongle avec le côté grain 180 de la lime double face pour retirer la brillance. Nettoie ensuite tes ongles avec une lingette sans peluches imbibée de lotion Prep & Wipe afin d’éliminer les corps gras et assurer une meilleure adhérence des wraps.

Choisis ton modèle préféré et ajuste chaque wrap à la taille de ton ongle. Retire le film protecteur transparent, applique le wrap sur l’ongle et lisse pour éliminer les bulles d’air. Utilise le bâtonnet en bois pour bien presser les contours, puis coupe l’excédent à l’aide de ciseaux à lames courbes Mylee*.

Lime le bout de chaque ongle pour ajuster le wrap et éviter le décollement. Lime dans un seul sens, de haut en bas, pour une finition bien lisse. Cette dernière étape fixe le tout. À toi jusqu’à 14 jours de tenue brillante et impeccable.

Applique le dissolvante huile "Wrap Remover Oil" de Mylee* autour de wrap et laisse agir quelques instants. À l’aide du bâtonnet en bois, décolle délicatement le wrap et fais-le glisser pendant que l’huile dissout la partie collante. Essuie les éventuels résidus, puis lave tes mains pour une finition propre et fraîche.
Tag @mylee sur les réseaux sociaux pour tenter d’être mis en avant.